


Yawgmoth, Thran Physician and his accompaniments of 2 Young Wolf, Strangleroot Geist, or a combo of the two have been an “undying” part of the Modern meta for a long time now. The deck has wavered in power but as of right now, the deck is more well-positioned than ever before. The original innovator of the deck is hard to pinpoint with many people being a part, Tom Ross and Aaron Barich being two key creators, Evart Moughon or “Aspiring Spike” also making interesting contributions. The earliest record I could find is from a 5-0 dump by MTGO Brewer lvg87. Since its inception, powered by cards like the now-banned Once Upon a Time along with the current 8 tutors allowed the deck to assemble 2 undying creatures and Yawgmoth to drown your opponent in card advantage. This deck is often described as one of the toughest decks to pilot. But if a challenge is what you strive for, if a puzzle every game makes you excited, then Yawgmoth Combo may be the perfect deck for you.
What is the Combo?
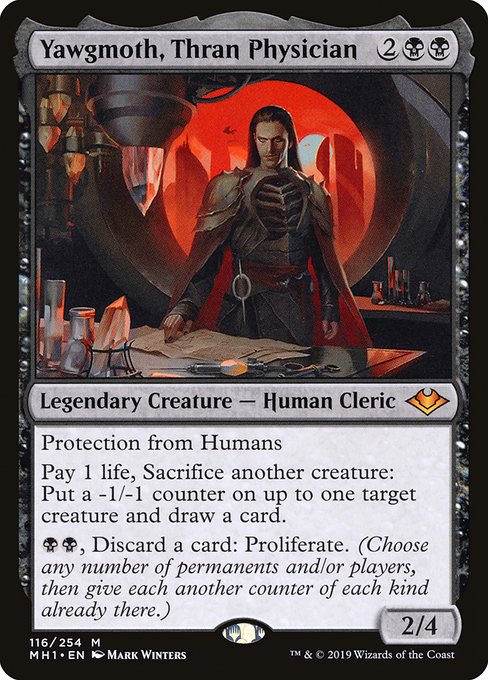
Yawgmoth, Thran Physician has a lot of text, but its combo revolves around the second and most powerful line: “Pay 1 life, Sacrifice another creature: Put a -1/-1 counter on up to one target creature and draw a card.” This can serve as an offensive piece, throwing away a token to kill a Ragavan, Nimble Pilferer for example, but what the deck is built around is using CR 122.3, or the rule that +1/+1 counters and -1/-1 counters cancel out. This with an Undying creature can allow you to keep sacrificing it and with 2 Undying creatures, you can create a loop with the only cost being 1 life.
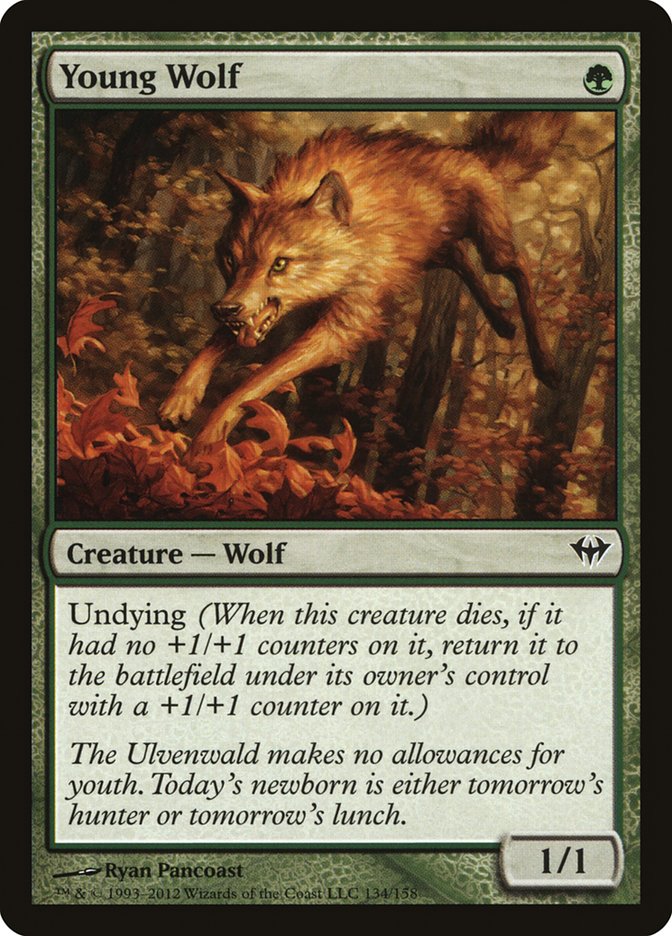
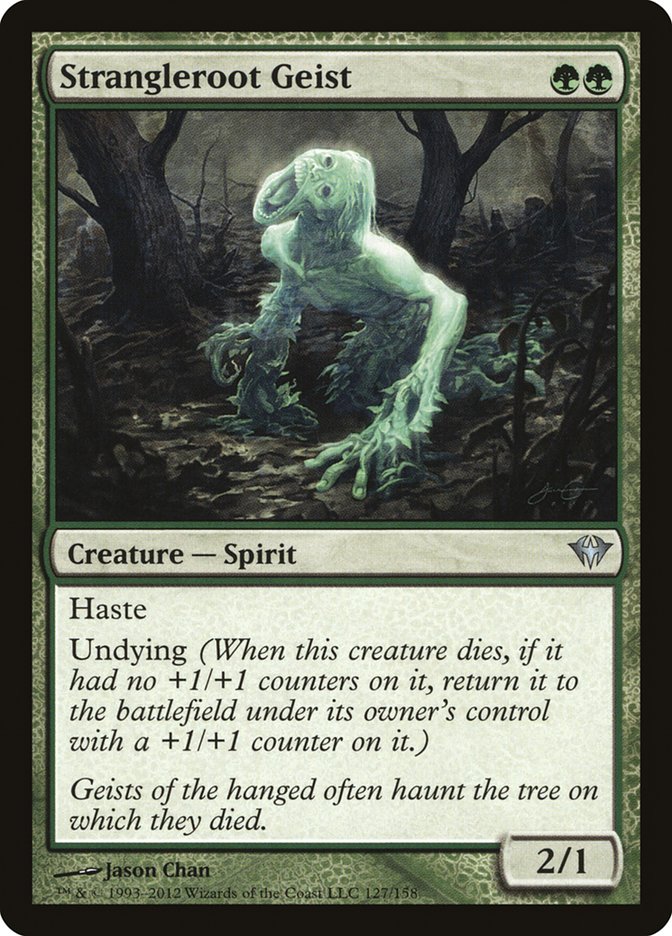
Example: Young Wolf is a 1/1 and Strangleroot Geist is a 3/2 (2/1 base with a +1/+1 counter). You would first Pay 1 life and sacrifice the Young Wolf to target the Strangleroot Geist and put a -1/-1 counter on it. This ends with a 2/2 Young Wolf (1/1 base with a +1/+1 counter) and a 2/1 Strangleroot Geist, but you are up 1 card in exchange for 1 life. Next, you would sacrifice the Strangleroot Geist to target the Young Wolf with the -1/-1 counter. This puts you back where you are at the beginning of this example (1/1 Wolf and 3/2 Geist) but now you have 2 less life and have 2 more cards.
Yawgmoth Decklists
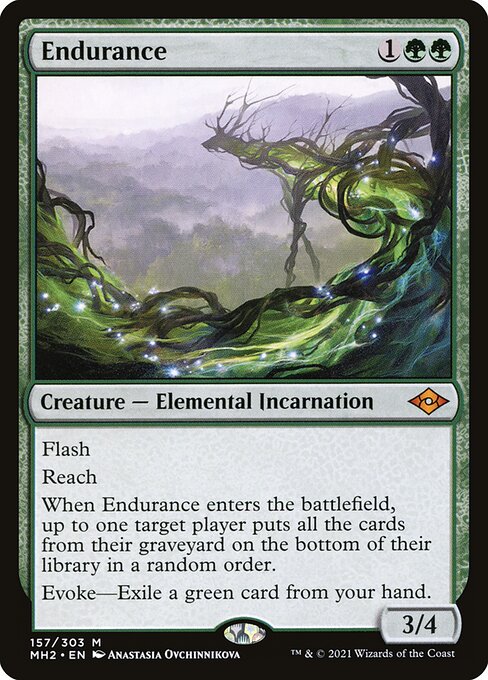
Before we can dive deep into the deck we need to look at some examples of decklists. DemonicTutors, a popular twitch streamer, has won multiple challenges with his decklist focusing on 4 of's and 3-4 key 1 of's. The list is focused on getting the combo off as fast as possible and focusing on the most powerful cards and plays with less overall utility. As such the list plays 2 playsets of 4 Birds and 4 Ignoble Hierarchs as well as 4 Grist, the Hunger Tide and 4 Eldritch Evolution, two cards often found as only 3-of to fit more flexibility. It packs 1 of's including Dryad Arbor, Blood Artist, Geralf's Messenger, and Endurance.
Another list that we can look at is that of Brandon Osborne aka “Control4Daze”, a smaller content creator specifically focused on Yawgmoth Combo. The list and Mr. Osborne boast a strong win percentage of around 70%. This list drops Grist and Eldritch Evolution down to 3 to include more main deck utilities such as a 2nd Endurance and a Scavenging Ooze. It also includes only 3 Wall of Roots to make room for a pseudo Wall of Roots in the form of Prosperous Innkeeper which provides further utility explained later. The sideboard is a little different as well including a single red card, Magus of the Moon, to be cast off of 8 dorks and tutored for. If you want more information on Yawgmoth I highly recommend Control4Daze on Youtube for strong gameplay advice that can significantly improve your abilities.
Expanding the Combo
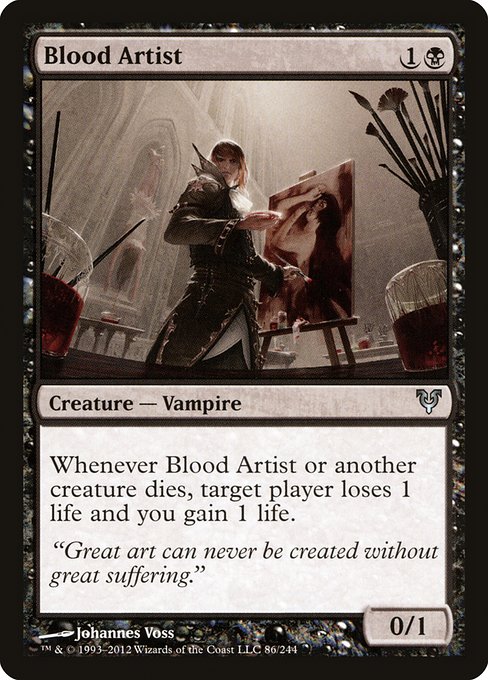
The combo is often expanded to do more than draw cards. While paying 1 life to draw a card is great, if you have a Blood Artist in play instead of you losing a life your opponent loses one for every draw (effectively allowing you to drain your opponent for life equal to the number of cars in your deck). This works as every time you sacrifice a creature the Blood Artist triggers and gains you the life you just paid back ("Pay 1 life, Sacrifice another creature").
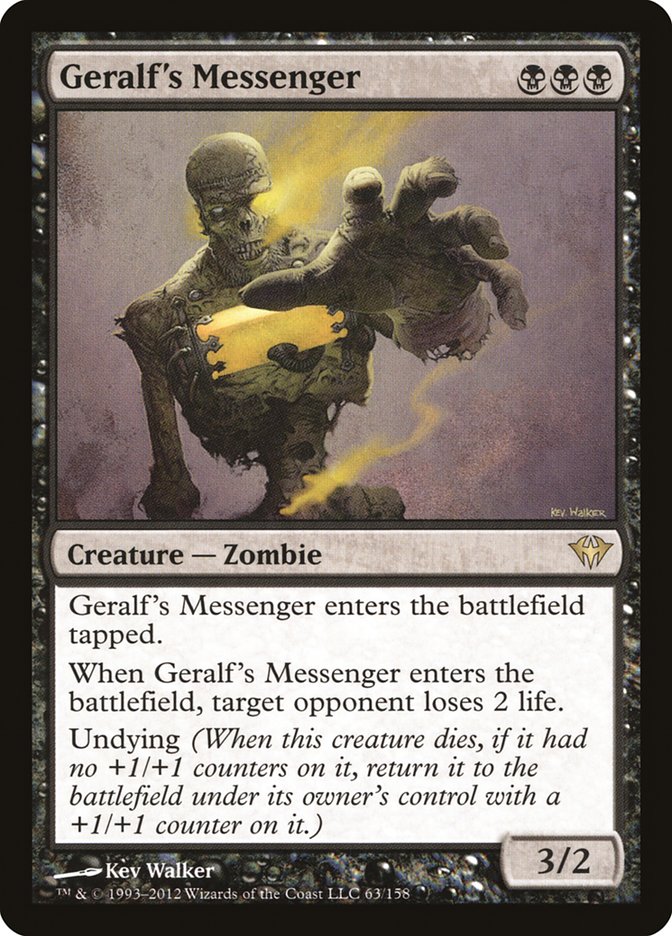
Another card that can kill is Geralf's Messenger. Since undying will cause it to re-enter the battlefield, every cycle of the combo will deal your opponent 2 damage. This means as long as you are at a higher life total than your opponent you can win the game.
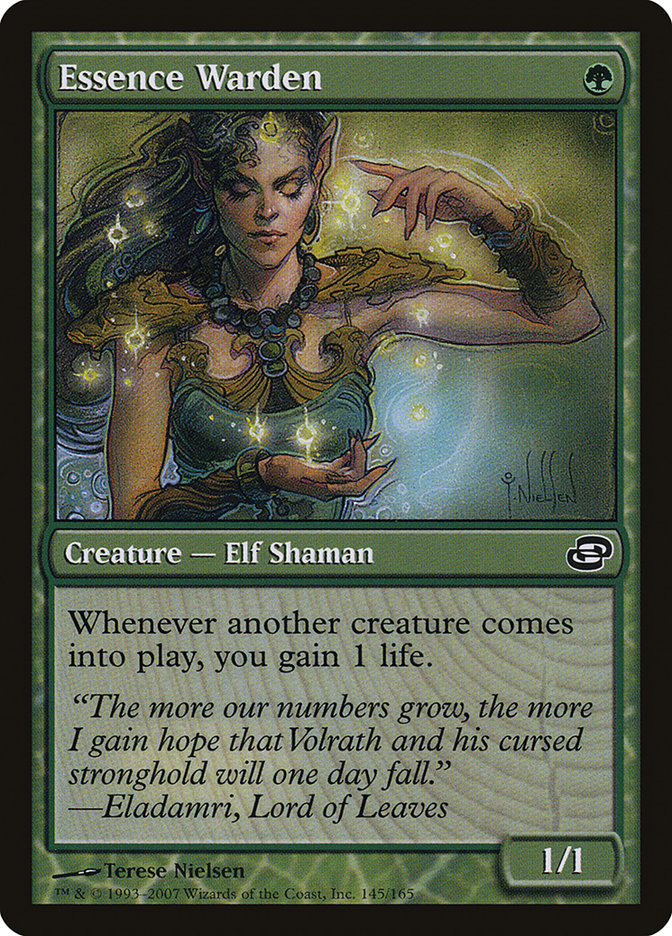

If you want to expand the Geralf's Messenger combo, Essence Warden or Prosperous Innkeeper will regain your life and allow you to kill your opponent if your Blood Artist has been exiled. This comes up a surprising amount.
Yawgmoth - A breakdown
Now that the basics have been laid out, the deep-diving can begin. To truly understand the power of Yawgmoth going through the card line by line is important.
- Protection from Humans, a surprisingly relevant and often forgotten line of text. In the Humans matchup, he serves as a permanent blocker. He cannot be killed for being targeted by Asmoranomardicadaistinaculdacar. A great blocker in prowess due to 8 or their threats being human (Soul-Scar Mage and Monastery Swiftspear) Overall, keep this text in mind you never know when remembering all the text on Yawgmoth can save you from a Thalia, Guardian of Thraben with a Sword of Fire and Ice on it.
- “Pay 1 life, Sacrifice another creature: Put a -1/-1 counter on up to one target creature and draw a card.” Obviously, this ability will be used a lot. Even without the combo, a deck filled with mana dorks, Undying creatures, and Insect tokens will be able to utilize the ability incredibly well. A key interaction to keep in mind is getting double the value from your creatures when you have 1 undying creature.
If you have 1 Young Wolf and 2 Insect tokens opposing a Mantis Rider, just by sacrificing each of them you could put 3 -1/-1 counters on it, killing the Mantis Rider, and draw 3 cards at the same time. But if you want to get more cards for the same effect you could sacrifice each insect token to remove the +1/+1 counter from the Young Wolf and then sacrifice the Wolf to target the Mantis Rider. This allows you to get 2 cards per creature. Another relevant use in conjunction with an evoked Endurance. To negate the card disadvantage generated from evoking an Endurance you can sacrifice the Endurance with the evoke trigger on the stack to go up on a card (with an Undying creature you are net even on cards as you spend 2 cards, the Endurance and green card exiled, and gain 2 cards).
There are many corner cases with this ability and if you keep an eye out you can do a lot of very cool things and generate a lot of advantage overall! (Both in cards and board state)
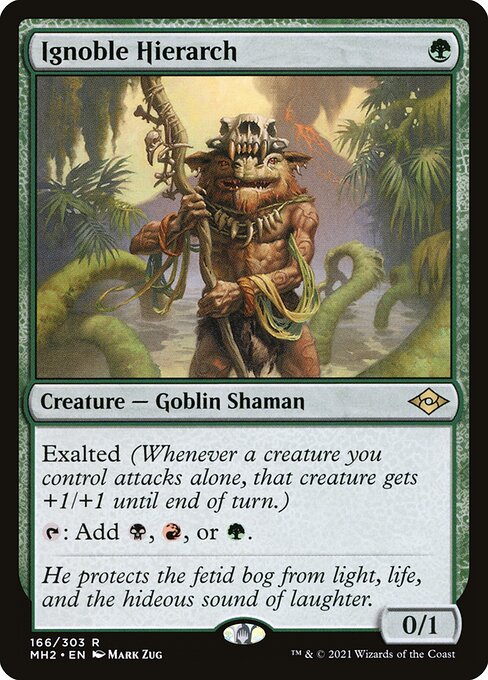
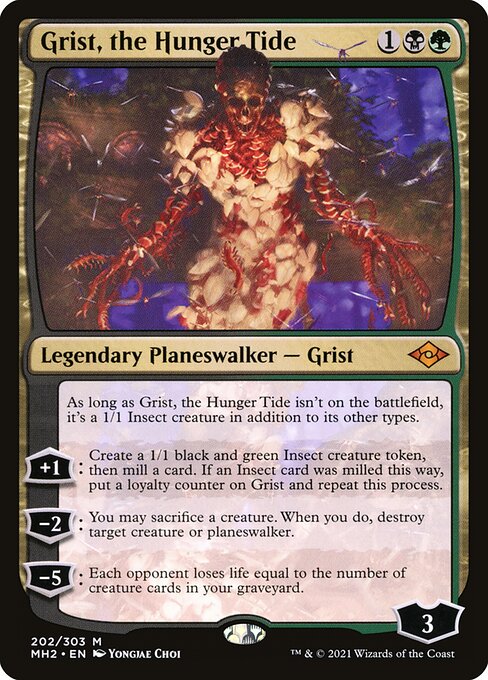
Example: Just the other day I had an Insect token, Ignoble Hierarch, Grist, the Hunger Tide, and 3 more mana. My opponent had played a Ledger Shredder the previous turn. I attacked with my 1/1 insect which became a 2/2. By doing this I put myself in a strong situation, if my opponent blocked I would play my Yawgmoth post-combat, sac the insect, and kill the shredder (2 damage and a -1/-1 counter), and if my opponent didn't block I got 2 damage in and could still -2 the grist & sac the insect to kill the shredder as well as play my Yawgmoth. Be aware of when you can use the ability and also keep in mind how it can work with the 3rd ability
- Black Black, Discard a card: Proliferate. Proliferate obviously has strong synergy with putting -1/-1 counters on your opponent's creatures but has a lot of corner case uses as well. First off as I mentioned, sacrificing your creatures to put -1/-1 counters across your opponent's board and then proliferating all of them is very strong.
For example, I was once playing Jund Saga. My opponent had a huge board, Tarmogoyfs, Constructs, you could name it, and it was big. I had a small army of tokens. They went to full swing, I sacrificed many of my creatures to put counters on their creatures, and then I used all my mana to discard 3 cards and proliferate my opponents creatures a total of -4/-4. This destroyed their board as it went from a wide board of individual threats to maybe 1 or 2 1/2 Tarmogoyfs. I won from there just by beating down. DO NOT UNDERESTIMATE THIS ABILITY. Another note on the proliferate ability is often proliferating the +1/+1 counters on your undying creatures, which can create lethal attackers as well as proliferating Grist to use his -5 ability and drain your opponent out.
There are a lot of very strong cards that can have their counters manipulated to devastate your opponent:
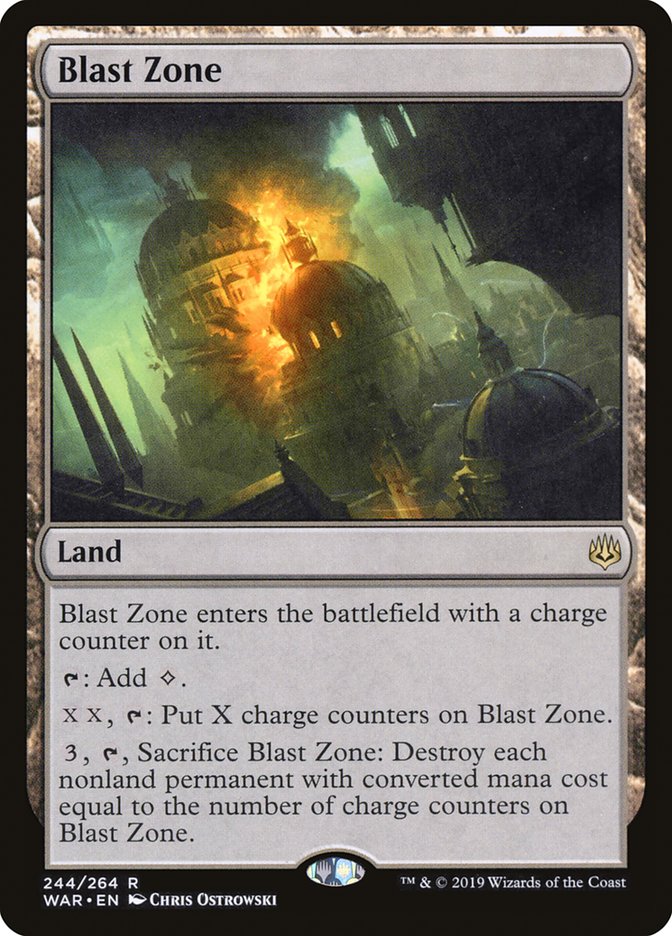
- Blast Zone: Proliferating in response to their activation can waste their mana or even turn. (IE, if they try to add 3 counters when it starts on 1, proliferating it to 2, will make it end with 5 and waste your opponent's 6 mana)
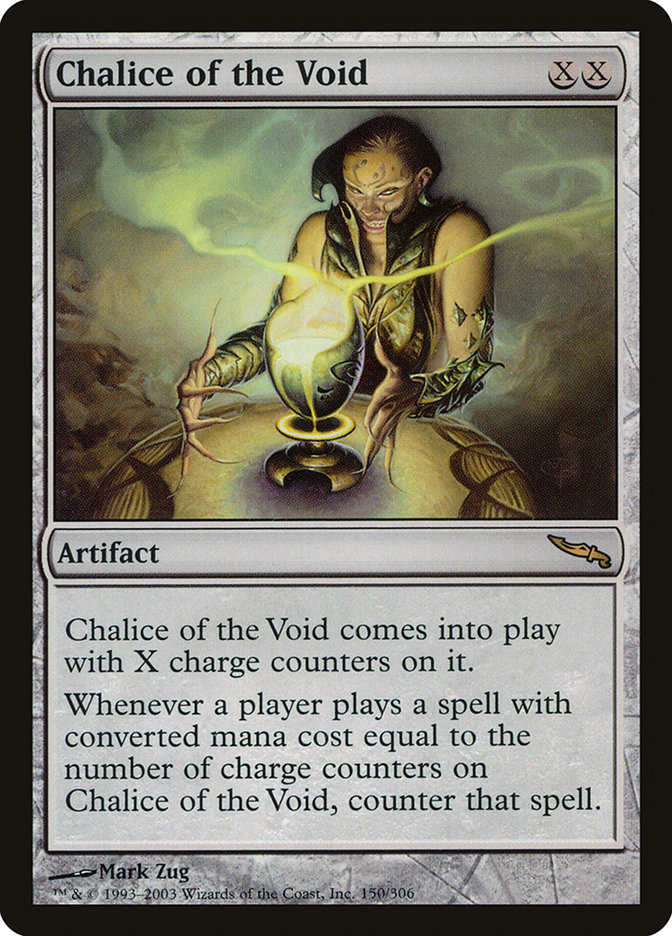
- Chalice of the Void: If an opponent locks out your 1 drops, 2 drops, or even 3-4 mana cards proliferating it to change the number of counters can allow you to get around it and land the key cards you may need.
- Other: Keep in mind when your opponents have counters on their permanents as you never know when Yawgmoth's often-forgotten 3rd line can allow you to win games.
Midrange vs Combo

Another challenging balancing act in the deck is trying to find when to go for the combo as opposed to when to go for a more midrange game plan. For some matchups it is easy and you are forced into one or the other, Calibrated Blast requires you to try and find the combo as fast as possible before they blast you to death. Other times the decision is more tricky, obviously, and you will always look to assemble Yawgmoth in addition to 2 undying creatures. In different matchups such as Jund, Control, or Murktide, further resources must be used differently. For Jund, you may choose to hold tutors to find a replacement Yawgmoth if they remove it, in a Control matchup you value playing at instant speed to try to find perfect opportunities to draw cards or combo kill. For Murktide it is a combination of the two, both trying to get value and grind out the long game while also searching for an opportunity to combo kill them when they go too low on resources.

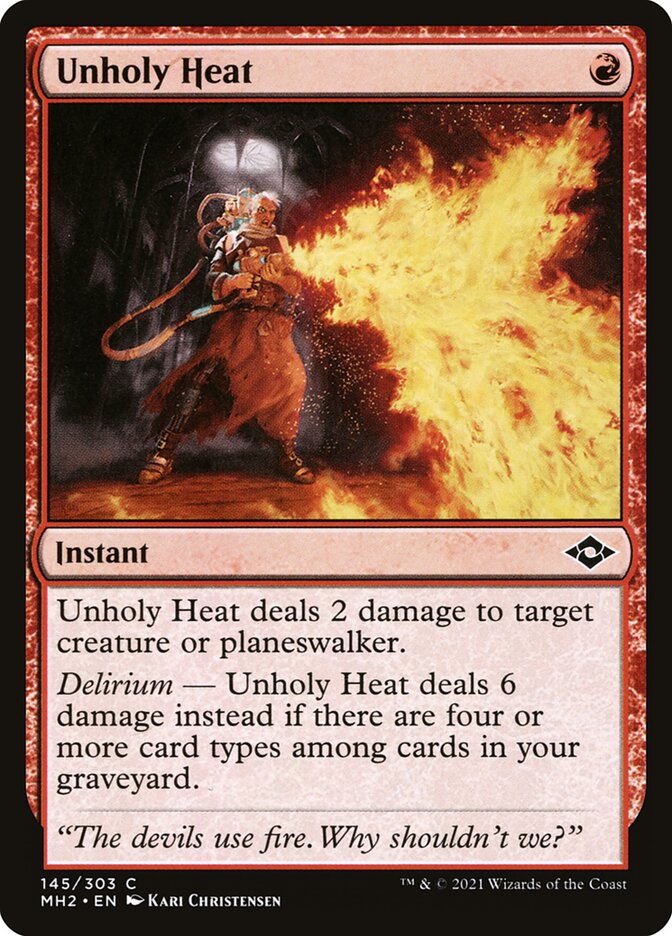
A thought exercise, you are playing against Murktide. You have 4 total lands (all tapped for the Yawgmoth you just cast), 2 Young Wolfs with no counters, a Yawgmoth, and no cards in hand, your opponent has 4 lands, a 7/7 Murktide Regent, and 2 cards in hand. They go to kill the Yawgmoth with an Unholy Heat which would leave them with 1 card in hand. How many cards do you choose to draw? If you're at 17 life how many do you draw? How about 13 life? These decisions are hard and while playing the deck you are forced to make them incredibly frequently. You may dig to find a Grist to kill the Murktide Regent, you may choose to dig for a replacement Yawgmoth or you may just choose to draw as many cards as your life total can justify.
Maximizing Value
Missing 1 land drop on turn 4 will lose you a multitude of theoretical mana over the course of a long game. If you continue to miss land drops the mana lost, or never gotten, increases exponentially. To maximize your value and gain important long-term advantage hitting your land drops is key. Many modern decks do not have the ability to hit all their land drops as a sacrifice to have enough gas or impactful cards, Yawgmoth on the other hand allows the player to dig incredibly easily, so you can find land drops, creatures, tutors, and key answers. As such an incredibly important and tricky part of this deck is balancing your resources to have the net greatest amount possible. Using Yawgmoth to draw cards has a real cost so balancing how many cards you draw and maintaining your board state is a real challenge. The key to doing this correctly is a question of probability.
There are 3 key aspects to maintain while making the decision to draw a card when looking for cards to maximize value: cards in the library, mana (both hypothetical and from untapped lands), and # of creatures in your deck that are castable. From there each draw is a general calculation of whether or not it is worth it to pay the life and sacrifice a creature for a card with an X% chance of being what you need. This sort of calculation eventually becomes second nature but can be hard early on.
Yawgmoth is an extremely powerful mid-range and combo deck but requires a lot of thinking and familiarity. Hopefully this helps deepen your understanding of the deck and prepares you for playing with it or against it at your next FNM!
If this sort of article is something you would be interested in getting more of let me know in the comments!


